Overview: Timesheets allow employees to track their working hours, ensuring accurate record-keeping for payroll and project management. Submitting a timesheet is simple and enables managers to review and approve the logged hours. This guide will walk you through how to add and submit your timesheet entries within the platform.
How to Add a Timesheet Entry:
-
Navigate to Timesheets: In the platform, go to "Timesheets."
-
Select a Week: Choose the week you’d like to add a timesheet entry for.
-
Add a New Entry: In the week view, click the "Add" button next to the day you'd like to log hours for.
-
Enter Details: A pop-up will appear where you can enter the type of hours, start time, and end time. The system will automatically calculate the total hours.
- Note: Only hours tagged "Work" as a type are calculated as part of your 'Total hours worked for the week'
-
Add Comments (Optional): If needed, include comments for your manager before submitting your timesheet.
-
Complete Entries: Repeat these steps for each day until the timesheet is complete for the week.
-
Submit for Approval: Review your entered total number of worked hours logged for the week. If everything is correct, click the "Submit for approval" button to notify your manager for review and approval of your timesheet.
Understanding Timesheet Statuses
-
Submitted: Once you've submitted a timesheet for approval, your manager will automatically be notified. You can still make edits to your timesheet until it has been approved.
-
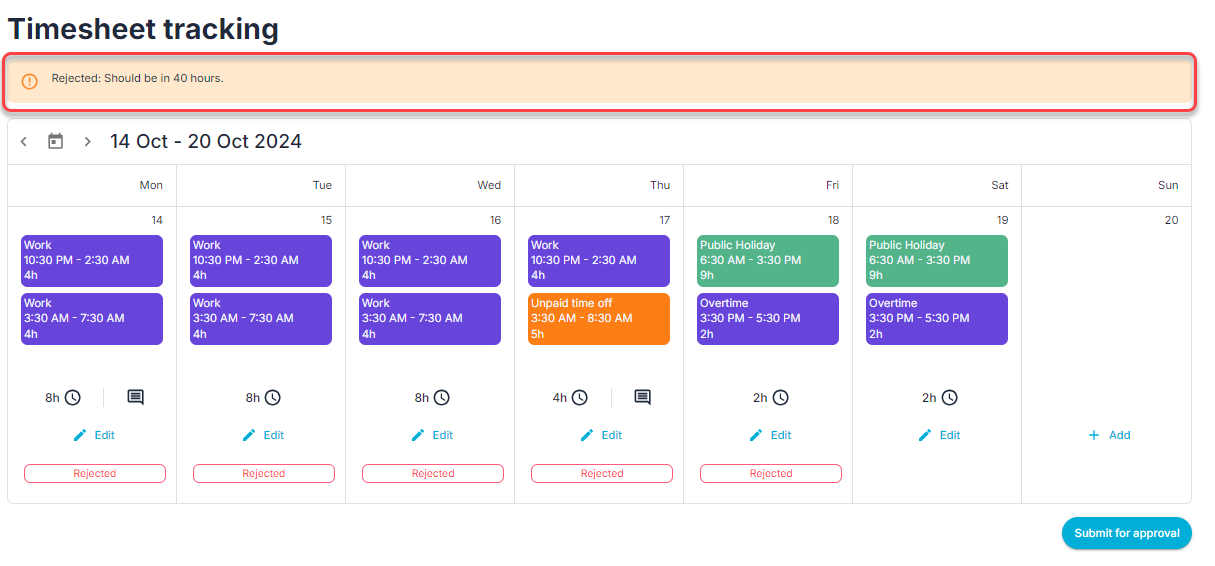
Rejected: If your manager rejects your timesheet, you'll receive a notification. You can view their feedback on the week view and make any necessary changes before resubmitting.